We could meet the stop code PAGE FAULT IN NONPAGED AREA when using the Windows system. And we have found that there are some possible reasons that can trigger this stop code.
- Windows cannot find the data that should be stored in the nonpaged area.
- The wrong system service or the wrong driver code is installed on the computer.
- There are faulty hardware or hardware problems on the computer (RAM is corrupted or there is a damaged sector on the hard disk).
- Antivirus software and corrupted NTFS volumes.
After knowing what might cause PAGE FAULT IN NONPAGED AREA error, then we have tried the following methods to get rid of it. And to avoid other problems occur, we enter the Safe Mode in advance.
Method 1: Test the RAM
The reason for the PAGE FAULT IN NONPAGED AREA error may be that the RAM chip is not properly connected or the slot is dusty, or the RAM stick is damaged, so we try to test the RAM.
- Turn off the computer completely and remove the side panel.
- Remove the battery and unplug all power cords.
- Remove the RAM chip and check for dust. If it is, remove the dust. If not, replace it with a new RAM.
- Re-plug the RAM stick and restart the computer to check if the computer still appears PAGE FAULT IN NONPAGED AREA error
Method 2: Disable Antivirus Applications
Anti-virus software may also cause PAGE FAULT IN NONPAGED AREA on the computer. So we try to disable Windows Defender and third-party anti-virus software to fix this error.
Here is the way to disable Windows Defender.
Open Settings > click Updates & Security > click Windows Security > click Virus & threat protection > click Manage settings under Virus & threat protection settings > turn off Real-time protection.
Method 3: Update Device Drivers
We can try to fix PAGE FAULT IN NONPAGED AREA error by updating or uninstalling the driver.
Step 1: Open File Explorer and right-click This PC.
Step 2: Choose Manage.
Step 3: Choose Device Manager under System Tools option.
Step 4: Right-click the disk device under Disk Drives, then choose Update driver or Uninstall device.
Step 5: Reboot the computer to check if the error is fixed.
Method 4: Disable Automatically Manage Paging File Size for All Drives
Sometimes the Virtual Memory can make some trouble to our computer, so we try to disable Virtual Memory from System properties of our operating system.
Here is the way to disable Automatically Manage Paging File Size for All Drives.
Step 1: Open File Explorer and right-click This PC, then click Properties.
Step 2: Click Advanced system settings on the left menu.
Step 3: Click Settings… under the Performance section on the Advanced tab.
Step 4: Click Change… to make changes on the Advanced tab.
Step 5: Uncheck Automatically manage paging file size for all drives at first, then click OK to finish.
Step 6: Restart the PC to check if the error is gone.
Method 5: Run Windows Memory Diagnostic Tool
In order to fix PAGE FAULT IN NONPAGED AREA error, we can also try to run the Windows Memory Diagnostic tool. Here’s the way to run it:
Step 1: Type memory diagnostic in the search box and click on Windows Memory Diagnostic to continue.
Step 2: Click Restart now and check for problems (recommended).
Step 3: Then just need to wait for the computer to find the problems for a period of time. After the search is completed, the computer will display the detected problem on the screen. If it doesn’t detect any problem, try the following method.
Method 6: Check Disk
Sometimes PAGE FAULT IN NONPAGED AREA error occurs because there is an error on the disk, so we use the Windows Snap-in tool to check and fix errors on the disk.
Step 1: Type cmd in the search box, then right-click the best-matched one to click Run as administrator.
Step 2: Press Enter after typing chkdsk C: /f /r. (C is the letter of the drive where we store our operating system.)
Note: If there is a message – “Chkdsk cannot run because the volume is in use by another process. Would you like to schedule this volume to be checked the next time the system restarts”, then type Y on the keyboard.
Step 3: Restart the computer to check whether PAGE FAULT IN NONPAGED AREA error has been fixed.
Method 7: Run Hardware Troubleshooter
Running Hardware Troubleshooter can also get rid of PAGE FAULT IN NONPAGED AREA error:
Step 1: Click Settings from the Start menu.
Step 2: Click Update & security on the Settings page.
Step 3: Click Troubleshoot and choose Hardware and Devices in the right.
Step 4: Click Run the troubleshooter.
Step 5: Now just wait for the computer to detect the problems. The error will be displayed if there is after completing the scanning process. Then fix the problem.
Method 8: Reset this PC
The last method to fix PAGE FAULT IN NONPAGED AREA error is to Reset this PC.
Step 1: Click Update & Security on the Settings page.
Step 2: Click Recovery and click Get Started on the right.
Step 3: Choose whether to Keep my files or Remove everything when resetting the PC.
Step 4: Follow the wizard to continue.
Back up the PC

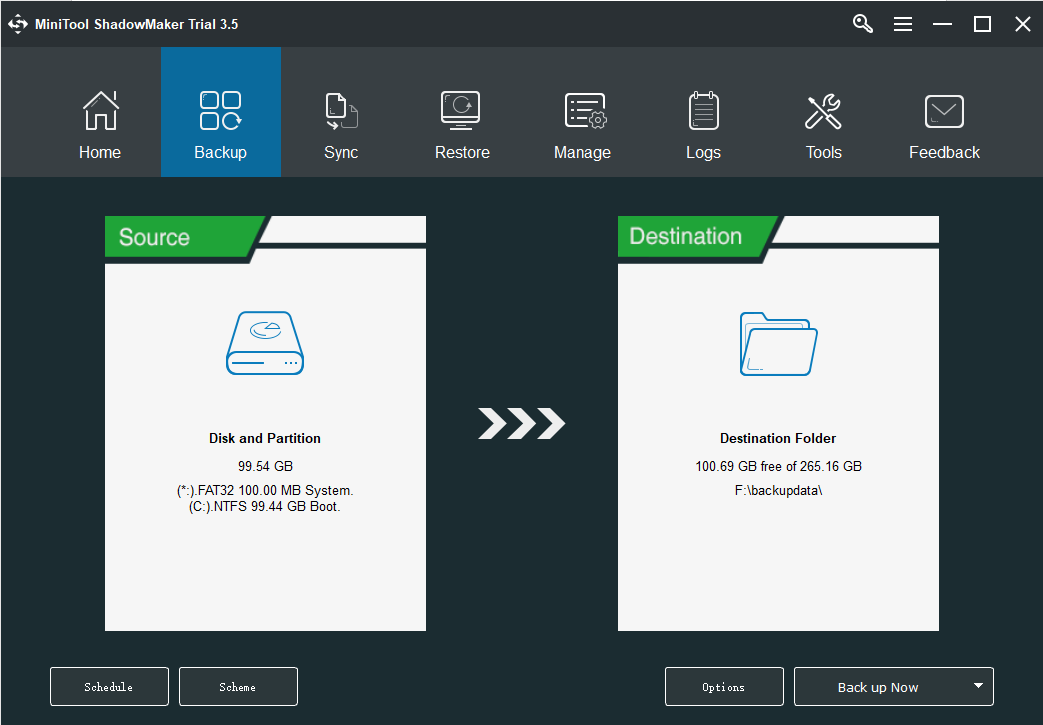
After getting rid of PAGE FAULT IN NONPAGED AREA error, what should we do? We should back up our important data because the stop code could cause data loss. And speaking of backing up data, we find that MiniTool ShadowMaker is the best one for me.
To learn more detailed information about the PAGE FAULT IN NONPAGED AREA error, read this post – 8 Powerful Methods to Fix PAGE FAULT IN NONPAGED AREA Error.
